Organizing a side-by-side fridge can improve your kitchen experience, transforming a hectic fridge hunt into a simple grab-and-go operation. If you are unsure where to begin, don’t worry! This guide is full of useful tips that will help you make the most of every inch of room in your fridge.

Ideas for organizing your fridge
Money leaves the house when the fridge isn’t organized. Your monthly bill payments will increase as a result of the squandered energy this causes. In addition to raising your energy bills, you will spend money on groceries that you do not need.
But have no fear, my friends! With a little work and some clever organization techniques, you can transform that side-by-side refrigerator from a source of stress to a well-oiled, clutter-free machine. So, let’s see how to organize fridge drawers, groceries, and produce.
What you’ll need to organize your side-by-side fridge
Money leaves the house when the fridge isn’t organized. Your monthly bill payments will increase as a result of the squandered energy this causes. In addition to raising your energy bills, you will spend money on groceries that you do not need.
But have no fear, my friends! With a little work and some clever organization techniques, you can transform that side-by-side refrigerator from a source of stress to a well-oiled, clutter-free machine. So, let’s see how to organize fridge drawers, groceries, and produce.
Supplies
- Mild detergent or other non-abrasive cleaner
- Warm water
- Clear plastic bins and containers of various sizes
- Labels
- Fridge-friendly storage bags or wrap
- Chalk or dry-erase markers for labeling
Tools
- Screwdriver (for adjusting shelves, if needed)
- Damp cloth or sponge (for wiping down surfaces)
- A trusty step-stool (those top shelves can be tricky!)

Step 1: Clean the fridge
Before organizing your side-by-side fridge, thoroughly clean all surfaces, shelves, and storage containers. Clean the fridge walls and parts with a light detergent or other non-abrasive cleaner, using warm water and a soft cloth or sponge.
Finish drying all the surfaces and putting the shelves and drawers back in place before connecting the device.
Don’t forget about the often-overlooked spots, like as the back corners where crumbs appear to accumulate or the underside of the shelves, which always seem to collect sticky residue.
Step 2: Organize the door
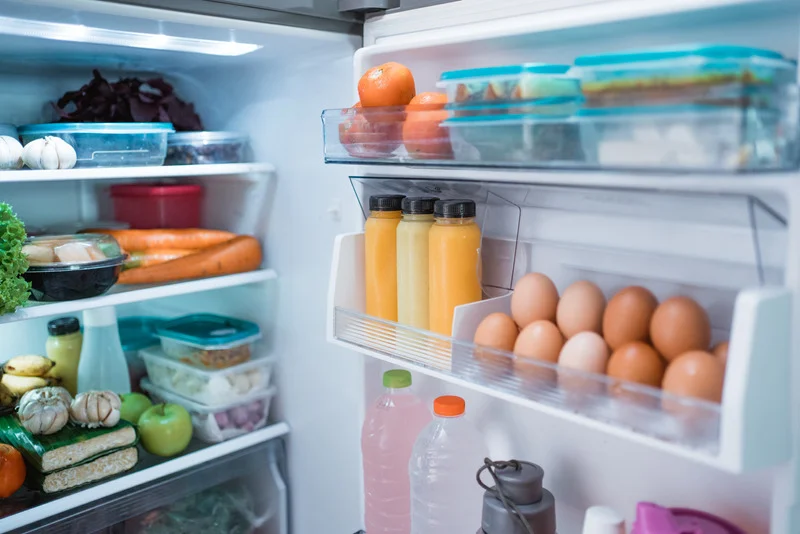
Side-by-side refrigerators allow you to store frequently used products in a handy, visible location in the door.
Begin by putting similar things together – salad dressings in one container, sandwich spreads in another, and juice boxes or canned beverages in a third. This allows you to easily find what you need without having to sort through a confused mess.
Store less perishable things, such as butter or soda, as well as items with longer shelf lives, in the door bins to keep track of expiration dates.
Don’t forget to make use of the door shelves! Place larger products, such as milk jugs or juice bottles, on the bottom level, leaving the higher shelves for smaller, lighter items, such as yogurt cups or applesauce pouches.
Step 3: Organize the shelves
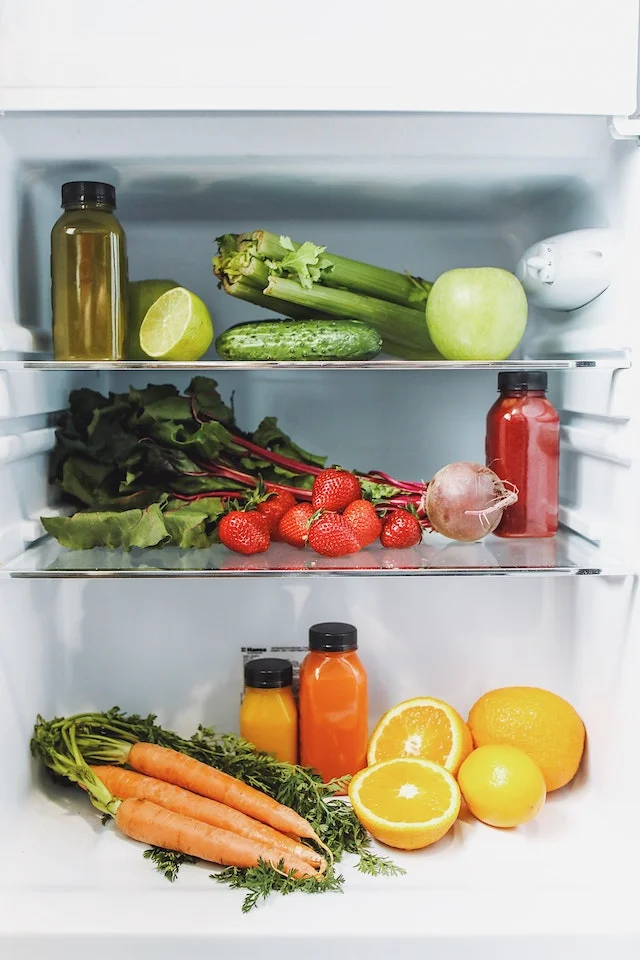
The shelves are the focal point of the side-by-side. Grouping similar foods together is a fantastic organizing method that can help you find goods in your fridge more easily. One shelf is dedicated to dairy, another to produce, and so on. Use clear boxes or baskets to keep everything organized and easy to find.
When organizing, keep in mind the temperature variations inside the fridge. Most of the time, the bottom shelves are a bit cooler than the upper shelves. The upper shelves are also the best place to store ready-to-eat foods, leftovers, and drinks. Morning staples such as milk and eggs do well on the upper shelves. Perishable foods, such as meat or dairy products, should be stored in designated areas on the refrigerator’s lower shelves.
Pro tip: Keep the products you use the most at eye level for quick and easy access. Taller, less-used things can put on top.

Step 4: Sort the fridge drawers
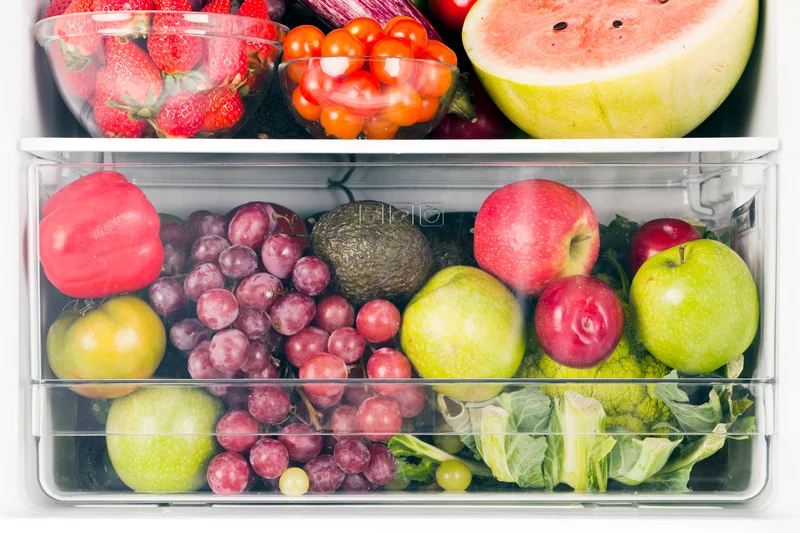
The drawers of a side-by-side fridge provide specific storage settings that are ideal for keeping sensitive items fresh for longer durations. The crisper drawers hold fresh fruits and vegetables, while the deli drawer holds sliced meats, cheeses, and other deli products.
You can use a high humidity crisper drawer to preserve thin-skinned fruits and vegetables looking and tasting good. A low humidity crisper drawer is ideal for fruits and vegetables with thick skins, such as peppers and apples.
Tip: Keep foods that are sensitive to ethylene, like leafy greens, away from foods that give off ethylene, like apples and tomatoes. Use clear bins or trays to partition the drawers and keep items from getting lost in the shuffle.
Step 5: Organize the freezer
The last thing we need to do is go through the freezer area. Begin by organizing items by category – frozen dinners in one section, vegetables in another, and so on. Keep it looking neat by stacking stuff in freezer-safe boxes and storage containers. Use clear boxes or baskets to keep everything organized and visible.
Helpful refrigerator food groupings
Place ready-to-eat and cooked foods on the top shelf, always higher than raw foods, so that raw foods don’t drip or fall on cooked foods and make them dirty. Here’s a handy little cheat sheet for where to stash your fridge and freezer goodies:
- Top shelf: Leftovers, ready-to-eat meals, quick snacks, dairy products like yoghurt and cheese
- Middle shelves: Dairy, eggs, deli meats, condiments
- Bottom shelf: Raw meats, poultry, seafood
- Crisper drawers: Fruits, vegetables
- Door shelves: Beverages, condiments, jams, etc.

Avoid overfilling the freezer
Here’s the catch: don’t put too much in your freezer! Overstuffing can reduce air circulation and cause items to freeze unevenly, resulting in a sad, frosty mess. Allow for some breathing room between each segment, and remember to rotate items on a regular basis to prevent anything from becoming lost in the ice abyss.
Get creative with drawers and bins
It’s okay to be a little artistic with how you use the different shelves in your side-by-side fridge. Make use of the refrigerator compartments’ abundant storage capacity by designating a bin for kids’ snacks or a “eat first bin” to keep track of expiration dates.
Consider purchasing some flexible fridge shelves or maybe a few Lazy Susans to make the most of your valuable storage space. Don’t overlook the door; those shelves are ideal for storing your most often used condiments, drinks, and snacks.
Label where food goes
Consistently returning items to their proper locations is one of the keys to maintaining a nicely arranged side-by-side fridge. To promote this behavior, try using dry-erase markers or chalkboard labels to show where various items should be kept.
For example, you may label the top shelf “Leftovers & Quick Meals” or set aside a drawer specifically for “Fruits & Veggies.” This visual signal will make it easy for everyone in the house to keep the fridge organized and nothing gets missing.
Declutter every few months
Even if you use all of these tips and tricks to keep your side-by-side fridge organized, it will still get a little messy and jumbled over time. Because of this, it’s important to clean out your fridge every couple of months.
During this clean out, go through every shelf, box, and bin and throw away anything that is way past its expiration date or looks too sketchy to be on “Hoarders.” Checking expiration dates, making a list of things that need to be used up soon, and giving your fridge a good clean are all great things to do now.
Now that the old things are gone and everything is spotless, you can restock and rearrange as much as you want. If you keep doing this regular cleaning, your side-by-side fridge will never get cluttered again.
Final Thoughts
Finally, understanding the art of side-by-side fridge organization is essential for a well-run kitchen. Taking the time to organize things in a way that makes sense, use storage tools, and set aside specific areas will help you keep things organized and get more done. You’ll waste less food, save time, and have a much calmer kitchen generally if you keep your side-by-side fridge organized.

FAQs about Side-by-Side Fridge Organization
The best way to organize a side-by-side refrigerator is by creating “zones” or areas where specific types of food are stored. This will make it MUCH easier for all members of your household to find the food they want AND return foods to their proper place.
Don’t put anything important in the door. The door is the warmest part of your freezer.
Use containers for smaller items.
Store like with like.
Make a smoothie section.
Create a staging area for this week’s dinners.
Don’t forget to take stock.
Use it or lose it.
LG’s Mega Capacity side-by-side refrigerator has bottom drawers on the right side for your fruits and vegetables and bottom shelves on the left side for uncooked meat. These foods go in the bottom spaces because they are the coldest ones.
One of the problems that you have with side-by-side refrigerators is that their width is split. This makes it harder for them to handle larger items. You can deal with this problem by selecting food items that can be split into smaller parts, but not all food items can be cut up in this manner.
1: CLEAN THE FRIDGE INTERIOR AND EXTERIOR.
2: ORGANIZE THE DOOR BINS AND COMPARTMENTS.
3: DESIGNATE AREAS AND STOCK THE FRIDGE SHELVES.
4: PLACE ITEMS IN THE FRIDGE DRAWERS.
5: ORGANIZE THE FREEZER SIDE.
Get creative with drawers and bins.
Sources:
- How to organize a side-by-side refrigerator: a guide
- Best Way To Organize A Side By Side Refrigerator Like A Professional
- HOW TO ORGANIZE A SIDE-BY-SIDE REFRIGERATOR
- How to Organize a Side by Side Refrigerator the Right Way
- Fantastic Fridge! Organize a Side-By-Side Refrigerator in 5 Steps
- Before and After Refrigerator Makeover
- How to Organize your Fridge in 5 Easy Steps
- 7 Ways to Organize Your Side-by-Side Freezer
- Refrigerator Organization Ideas You’ll Be Mad You Weren’t Using
- 10 tips for how to organize your fridge
- Organized Fridge
- REFRIGERATOR ORGANIZATION: IDEAS AND TIPS
- How to Organize a Refrigerator in 13 Steps
- The Best Way to Organize Your Fridge, According to Pro Chefs
- How to Organize Side by Side Refrigerator the Best Way
- Tips for an organized Samsung refrigerator
- 10 Ways to Get the Most Out of Your Fridge