Ever wonder how to keep your art supplies in tip-top shape? The limit is the overflowing bin of markers, the perplexing tangle of paintbrushes, and that drawer of miscellaneous materials you vow you’ll get to one day. I’m about to provide a wealth of knowledge and strategies to help you organize your art supplies like a pro.
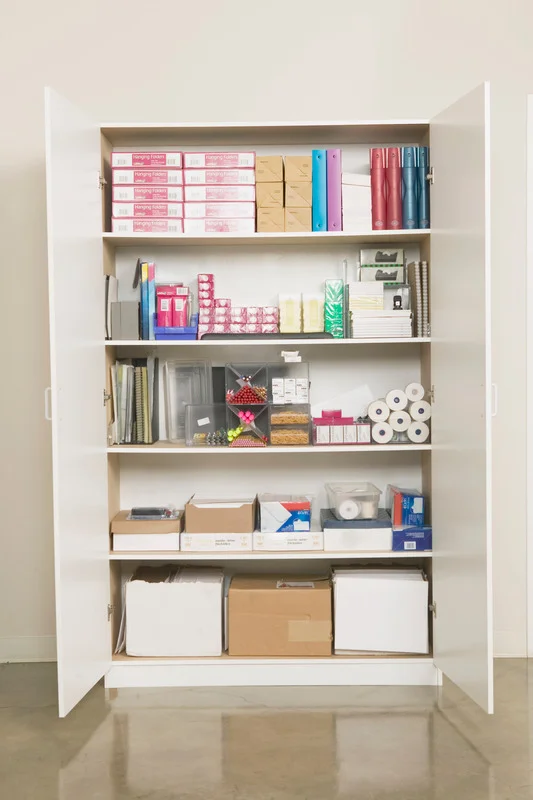
Get Rid of Unnecessary Items
Let’s start with a little spring cleaning. We’ve all seen how simple it is to collect random odds and ends over time – half-used paint tubes, broken pencils, and other items that have long outlived their usefulness. Take a deep breath and be brutally honest: how many of these goods do you use on a regular basis?
Donate, recycle, or dispose of anything that has dried up, become damaged, or is simply gathering dust. Remember that you’ll be more motivated and get more done if you have less stuff to deal with.
Group Items by Category
It’s time to start organizing your art supplies once you’ve gotten rid of the old ones. Gather all of your paints, corral those stray pencils and markers, and give your brushes their own space. Lettering tools (brush pens, paint, pens, pointed pens, pencils, etc.) make up most of the left side. Mostly art supplies (watercolors, acrylic paint, gouache, etc.) are on the right side.
Begin sorting using clear buckets, cartons, or even Mason jars. Label each container with its contents for immediate visual organizing.
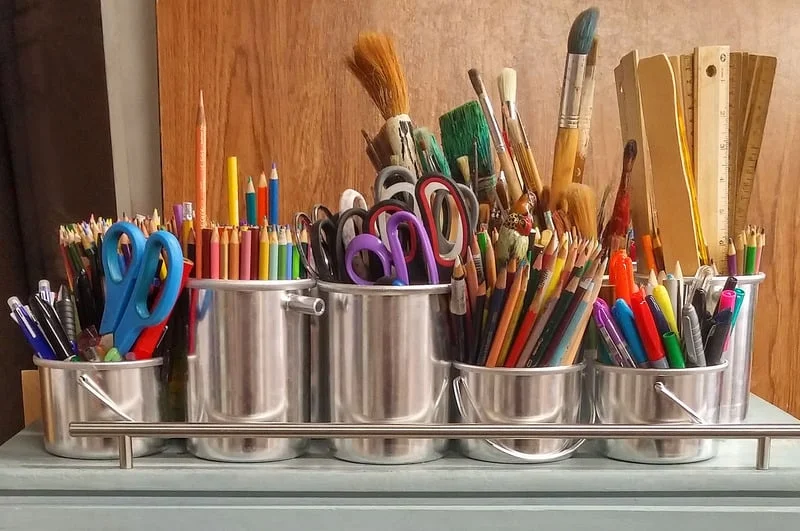
Gather Same Colors Together
While we’re on the topic of grouping, let’s go one step further and organize your supplies by color. If you’re like me, you have a habit of hoarding art supplies in every color imaginable. While variety is the spice of life, it may also cause significant visual turmoil.
Sort your paints, pencils, markers, and other colorful supplies by color and size. Not only will this make it easier to find your supplies, but it will also give your workspace a feeling of artistic harmony.
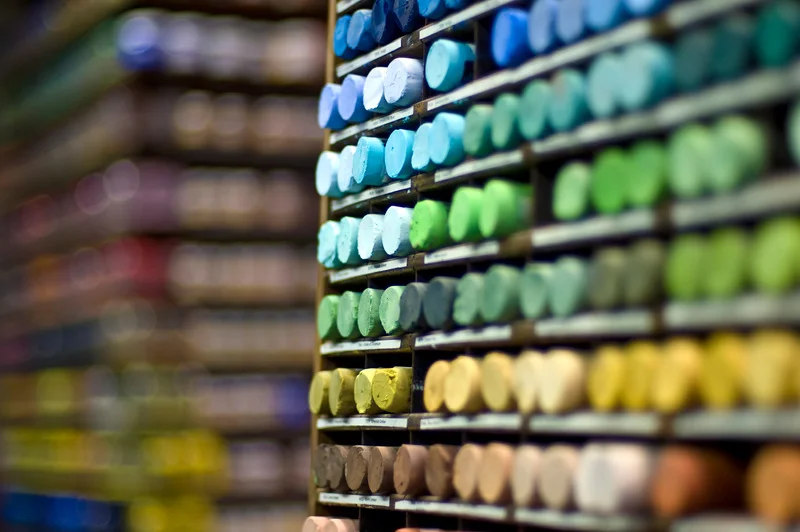
Keep Your Paints Visible with a Stair-Step Shelving Unit
By staggering the stair step paint holder, you can view every tube or bottle at a look without having to sift through a jumbled mess. Plus, a lot of these boxes come with built-in dividers or compartments that make it even easier to keep your colors separate and organized. The paints are arranged by type, such as base, layers, and specialty. Within the type, they are organized by brand for an additional sub-category to enable selecting the correct paint easier.
Use the Right Organizational Tools
If we’re on the topic of organizational tools, you should buy a few key ones to keep your art products neat and easy to get to. Shelves, pegboards, and over-the-door organizers are among the most effective solutions. Clear plastic bins with dividers are ideal for storing tiny objects such as pencils, erasers, and other desk necessities.
Rolling carts or storage cabinets with drawers can hold larger supplies like canvases or sketchbooks, whilst wall-mounted racks or pegboards are ideal for keeping brushes and other equipment easily accessible.

A Space for Every Tool
Hey, we’ve all experienced it – paintbrushes all over the desk, colored pencils rolling around on the floor, and that sneaky kneaded eraser that seems to have disappeared into thin air. No worries! First, take a look at what you’ve got. Got any paints, brushes, sketchbooks, or maybe a bunch of markers lying around? Set up specific spots for each category. It’s like setting up a comfy little spot for each tool. When everything’s in its spot, you’ll notice inspiration hits you way more often!

Display Things That You Use a Lot/ Want to Use
Set aside prime real estate for the paints, pencils, brushes, and instruments you use most frequently. Display them prominently on shelves, in glass containers, or wherever easily accessible. Display the art supplies you use the most, or desire to use more, in a visually pleasing manner.
Having the markers on show, easily accessible, and knowing where I could find them made it much more tempting to use. That idea grew, and now I also have a bunch of my pens, water brushes, automatic pens, highlighters, and other writing tools out for everyone to see!
Hanging Plastic Organizers
If you’re tight on space, hanging plastic organizers are totally the way to go! These cool little tools can be hung on walls or doors, making use of that empty vertical space for some serious organization. Just hang them on the wall, and explosion, you’ve got a nice setup for all your markers, colored pencils, and brushes, all ready to grab whenever you need them.
See-Through Storage
When it comes to organizing art supplies, visibility is key. From plastic buckets and jars to acrylic drawer organizers, being able to look inside and quickly find what you need will save you hours of frustration.
Plus, it will give your art supply organization a nice, unified look that will make it feel like a real work of art.
This open approach also lets you know when you’re running low on important items, making it easy to resupply before you’re caught in the thick of a creative crisis.

Think Vertical—Use All the Space You Have
When floor space is at a premium, go vertical! Invest in some tall, slim shelf systems or bookcases to store larger goods like canvases and sketchbooks upright. You can also build wall-mounted racks or pegboards to keep your brushes, rulers, and other equipment easily accessible. Experiment with different combinations to clear the clutter off your worktable and studio floor.
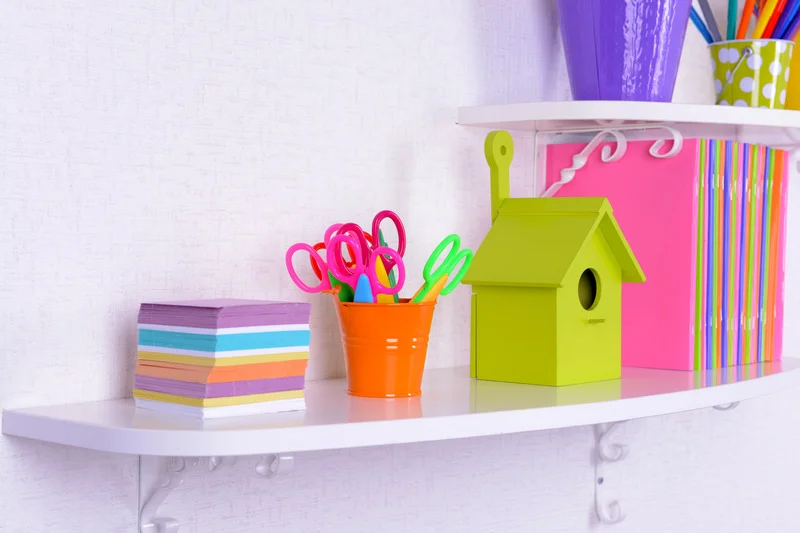
Art Supplies Organizer
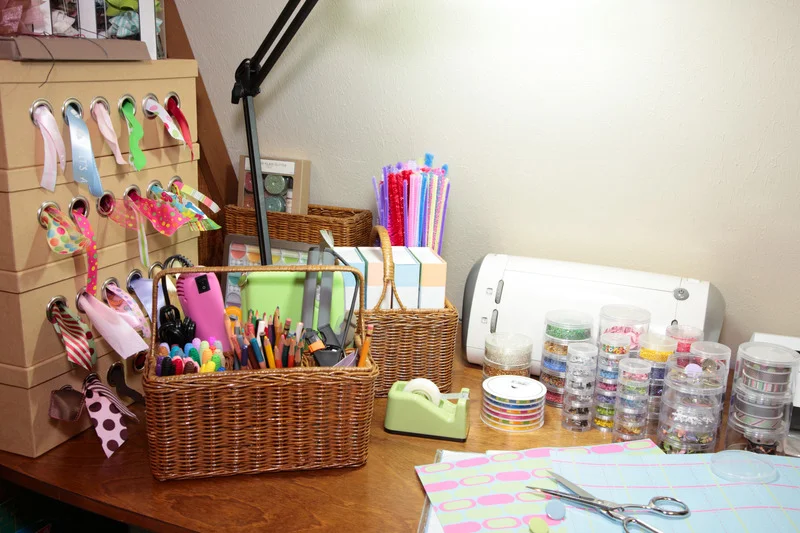
Are you familiar with organizers that have compartments of different sizes? Whether it’s a caddy with compartments or a multi-tiered box, these organizers are great for keeping all your paints and glues in order. It’s all about making things easy—when you can quickly grab what you need, you waste less time hunting and more time making stuff happen. They are also stackable, allowing you to design a storage solution that is tailored to your specific needs.
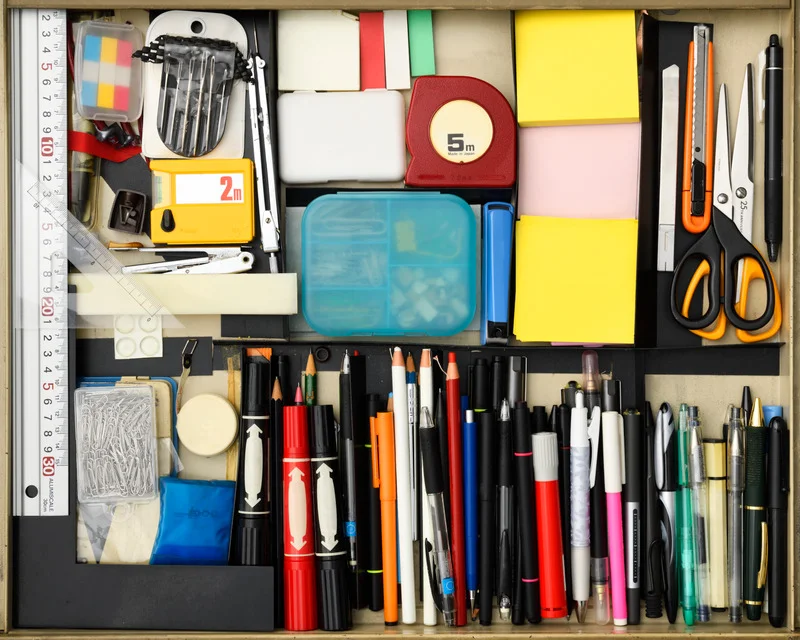
Have Some Junk Drawers
Leave some space for extra things or junk boxes. No matter how rigorously you organize your art supplies, there will always be a few items that don’t fit neatly into a category. That’s where the ordinary junk drawer comes in.
Set aside one or two drawers for the random things that don’t belong anywhere else. This includes the strange tool you can’t quite figure out, the mysterious set of tiny paints, and the buttons and beads that you’re not sure what they’re for. The junk drawer is useful because it contains the turmoil while keeping your primary storage areas clean.
Tiered Rolling Cart
Sometimes it feels like our art supplies are about to take over the whole room. These tiered rolling carts are super useful. Pile them up, toss them around, and let your creativity flow wherever you feel inspired.You can sort items by project or medium with different tiers. Just watch out and don’t go overboard building a supply tower that’s taller than you!
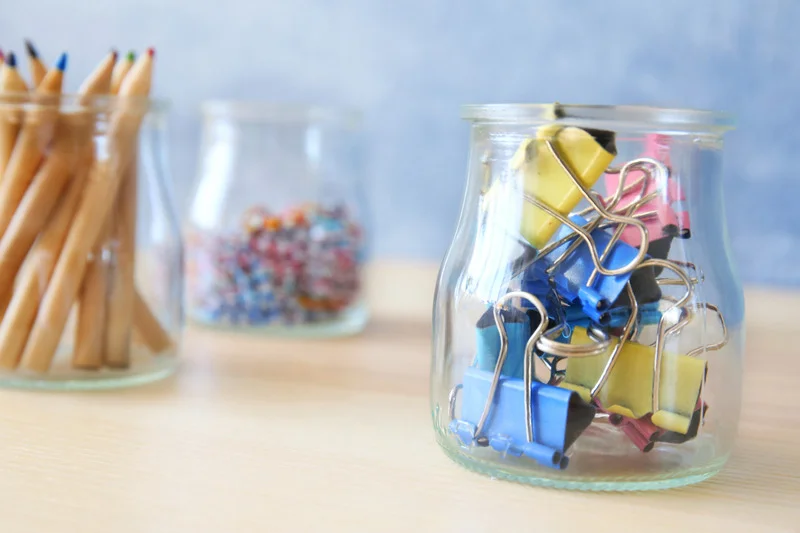
Glass Jars
Glass jars are both aesthetically beautiful (hello, Instagram-worthy displays!) and functional. Put away your paintbrushes, pencils, or those little things that always seem to go missing. It’d be awesome if you could label them for some extra organization vibes.
Plastic Bins With Labels
Sometimes, the easiest fixes are the way to go. Plastic bins with labels make it super easy to sort out supplies in no time. Feel free to sort by color, type, or project—whatever suits you best! When everything’s labeled, it feels like each bin has its own vibe, making it super easy to find what you need without any fuss.
Hanging Metal Containers
These stylish, industrial-chic pieces are great for anyone who likes a more minimal feel. Just hang them on the wall, and boom, your brushes, pencils, and scissors have a cool spot to chill. Also, they’re really simple to set up—just hang them up and fill them!
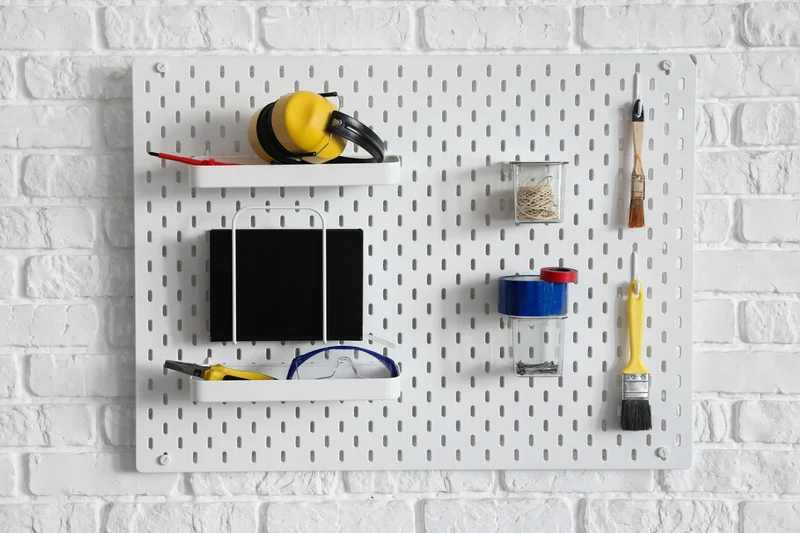
Peg Board
Peg boards are totally one of my go-to organizational tools. I can totally customize them to fit my needs with hooks, baskets, and shelves. Throw in some hooks for your tools, set up shelves for the bigger stuff, and grab a few small bins for those loose items. It’s a system that changes and grows with what I need. As my collection grows or changes, my peg board setup will totally change with it!
Floating Shelves
Why let your stuff take up all the floor and desk space when you can use those usually ignored walls? Put up some floating shelves. They’re a great way to show off art books or finished pieces while keeping your supplies nearby.
Open and Hidden Storage
Here’s the thing: sometimes you want to show off your artistic treasures, and other times you just want to keep them safe. That’s where mixing open and hidden storage really saves the day. Show off your cutest supplies on those floating shelves, but stash the messy projects away in some closed cabinets or drawers. It’s like having the best of everything.
Roll-Up Paintbrush Organizer
A roll-up paintbrush organizer is like a comfortable sleeping bag for your brushes! It protects and organizes them while being portable enough for travel. When you’re ready to paint, simply unroll it and all your brushes will be there at your fingers!

Cube Shelf
Cube shelves are adaptable storage solutions that may be used in every area of your creative environment. Put them in any way you like and fill those cubbies with bins, baskets, or anything else your creative mind can think of. Bonus points if you mix and combine colors to create a truly unique and eye-catching display.
Properly Storing Art Supplies
This includes temperature control, ventilation, and sun and moisture protection. There are some art tools that need extra care, like paints that need to be kept cool or papers that shouldn’t get wet. Setting up the right storage conditions is super important for making them last longer. Keep your sensitive stuff in a cool place, away from sunlight and moisture.
Maintaining Art Supplies to Increase Their Lifespan
Keeping your art supplies clean and in good shape is super important, too! Every time you use paint, clean your brushes well (no one likes dried paint!). Store paint upright to avoid spills, and keep surfaces clean. Taking care of your tools means you can always count on them when you need to.

Adding New Supplies to Organization
When you’re bringing in anything new to your current setup, think about how it jives with what you’ve already got. Do they need a special place of their own? Or can they fit into the existing categories? It’s like bringing new buddies into a close crew; just make sure they feel comfy and at ease!
How to Organize Art Supplies in a Small Space
Okay, so maybe you don’t have a huge art studio or a room just for crafts. Don’t worry! There are numerous strategies to keep your painting equipment organized, even in the smallest of areas.
The key is to be inventive with vertical storage, use every nook and cranny, and brutally delete whatever you don’t absolutely need. When floor space is at a premium, wall-mounted shelves, over-the-door racks, and even rolling carts might come in handy.
Invest in multi-purpose storage solutions that can do double (or triple) duty. A mobile cart with drawers and shelves, for example, may store all of your most often used goods while simultaneously serving as a portable workstation when needed.
Don’t be scared to be a little unorthodox. Repurpose old mason jars, tin cans, or even cutlery trays to store your smaller items. Create categories, such as paintbrushes, markers, oil paints, or pencils, and store each set of things in a covered container. The benefit of a small room is that a little organization goes a long way.
Final Thoughts
There you have it: all the tips and tricks you need to turn your mess of art supplies into a well-organized work of art. But what’s the real key to keeping your art supplies neat? Being realistic about your actual usage and requirements on a frequent basis. Don’t be scared to get rid of those dried-up paints and damaged pencils that are wasting important space.
With a well-organized and conveniently accessible art supplies setup, you’ll be able to jump right into your next creative project without wasting valuable time sifting through mountains of junk.
FAQs about Organizing Art Supplies
Create categories such as paintbrushes, markers, oil paints, or pencils, and place each group of items in one of the lidded bins. Using clear plastic bins makes everything visible and easy to spot and the labels add a practical touch as well as a nice, uniform look.
Make it easy on yourself and use a spreadsheet program like Excel or Google Sheets (which can include images or links to them), but it can be done on paper as well. Here’s an Art and Art Sales Inventory Template and a Studio Inventory Template to help get you started.
Use a combination of drawer dividers and small containers to organize essentials within reach. Store craft supplies in one layer (no stacking) to make it easier to see what you have and what needs replenishing.
Bags and Carrying Cases.
Art Portfolios.
Rolling and Utility Carts.
Storage Boxes and Containers.
Paint Brush Holders and Organizers.
Pastel Storage Boxes.
Art and Poster Tubes.
Pencil Cases and Pouches.
Sources:
- 35 Easy Ways to Organize Your Art Supplies
- How I Organize My Art Supplies
- How To Organize Art Supplies In A Small Space
- How to organize art supplies – 8 convenient storage solutions for craft desks and rooms
- How I Organize Art Supplies
- How To Organize Art Supplies for More Creativity—And Less Mess
- 27 Clever Craft Storage Ideas for All Your Creative Supplies
- Organizing Kids’ Art Supplies – Tour Our Craft Cabinet!
- How To Organize Art & Craft Supplies When You Live in a Small Space
- How to Organize Your Kid’s Art Supplies (and Actual Art)
- Organizing Art Supplies
- 5 Helpful Tips to Organise Your Art Supplies
- Organizing Art Supplies
- Sneaky Ways To Stash All Your Craft Supplies
- Kids’ Art Supply Storage & Organization
- Storage for Art Supplies
- How to organize and store kids’ art supplies
- Best Way to Organize Art Supplies: 7 Creative Ideas
For more organizing tips, hacks, and advice:
- Maximize Every Inch: Smart Storage for Loft Apartments
- The 7 Worst Types of Clutter and How to Get Rid of Them
- Storing Sweater Ideas and Organization Tips
- 10 Best Small Garage Storage Ideas 2023 – How to Organize a Garage Step by Step
- How To Do Marie Kondo folding Towels? KONMARI Folding Towels Step by Step Tutorial 2023
- How To Fold Shirts Fast? Konmari Folding Shirts Method
- KonMari Folding Method – Marie Kondo Folding Guide For Clothes
- Best Free Interior Design Software and Tools Online
- Maximize Your Mudroom: Clever Built-In Ideas
- Laundry Room Shelving Ideas: Maximizing Space and Style