Crafting is enjoyable, but it can be a messy process. Between glitter, glue, and endless stacks of fabric, your craft closet may easily get overcrowded. However, keep going. With today’s ideas, you’ll discover that organizing your craft closet is actually pretty simple. So, are you prepared to take control of your craft closet chaos? Let’s get started with these craft closet organization ideas.
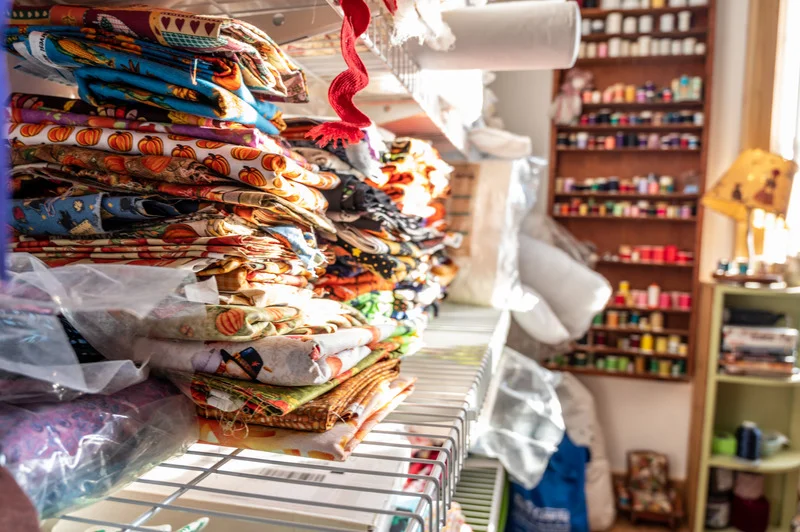
Remove the Old Closet Pieces
Let’s begin the decluttering process with a cleaned closet. First, remove all existing shelves, poles, and other inefficient storage components. This allows us to examine the area with new eyes and design a more practical arrangement.
When I clean out my closets, I utilize the chance to get rid of any items that I no longer need or use. I generally force myself to be resolute while making such a decision. Otherwise, my emotions prevent me from getting rid of things that have not been touched in years. You can donate or discard these items to make space for the necessities.
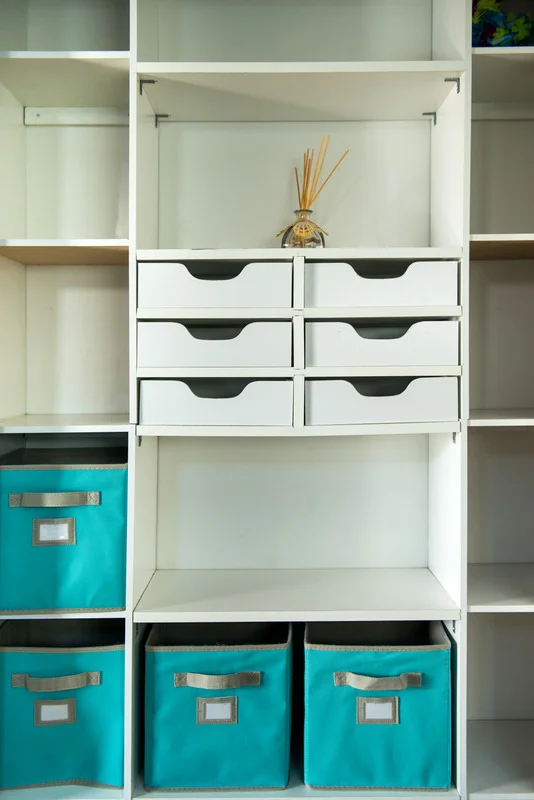
Group Your Supplies by Category
At work, my favorite part is organizing things into different categories. I like to imagine it as putting together a puzzle. As a first step, group things that are similar; for instance:
- Painting and drawing materials: Acrylics, watercolors, brushes, canvases, pencils, and sketchbooks.
- Sewing and textiles: Fabric scraps, threads, needles, buttons, zippers, patterns, and sewing machines.
- Paper crafts and scrapbooking: Cardstock, patterned paper, stickers, embellishments, stamps, and dies.
- Jewelry making and beading: Beads, wire, findings, tools, and jewelry-making kits.
- Woodworking and DIY tools: Wood, glue, sandpaper, saws, drills, and other woodworking essentials.
Organizing things according to their type facilitates both finding what you need and figuring out what kinds of supplies you have extra of. When you go shopping again, don’t purchase more!
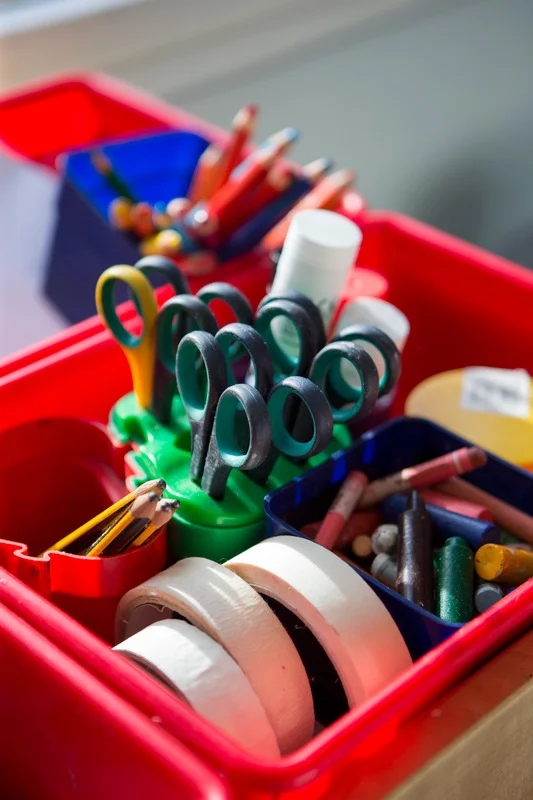
Decide What to Keep, Donate, or Discard
It’s time to make some difficult decisions after the items are organized. Go through every group and honestly ask yourself which objects you really love and use, and which ones are just taking up useful space? Usually, I examine myself with these questions:
- The last time I really used this object was what? Should it have been accumulating dust for years, it is most likely time to let it go.
- Does this item have any particular application to a specific project? If not, it’s most likely using useful space.
- Is this thing still in decent, useable condition? It’s time to say goodbye if it cracked, dried out, or is unworkable.
- Is my retaining it out of nostalgia or guilt driven? We keep things sometimes because we feel bad about discarding them. It is OK, nevertheless, to let them go if they have no utility.
Decisive about getting rid of items you truly don’t need? Give a local craft organization or school lightly used materials. Don’t hesitate; else, you will never have space!
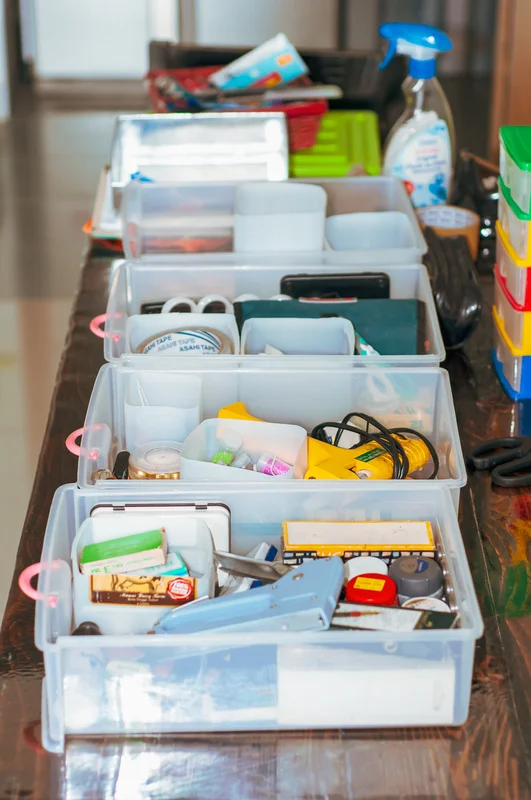
Use Clear Storage Containers
Clear bins, boxes, or drawers are my preferred containers for organization and storage. Without opening every container, I can very rapidly determine what’s within. Additionally, this helps you keep the area clean and saves time. Also, clear boxes from a distance will help visitors to feel less crowded, thereby visually producing the impression of a great space.
In normal times, you can observe the packaging boxes around you and collect some visible boxes or bags of various sizes. Clear bags or bags with zippers are quite handy for little items such buttons, beads, and decorations. Larger items, including fabric rolls or scrapbook paper, should make best use of vertical space—that is, vertical shelves.
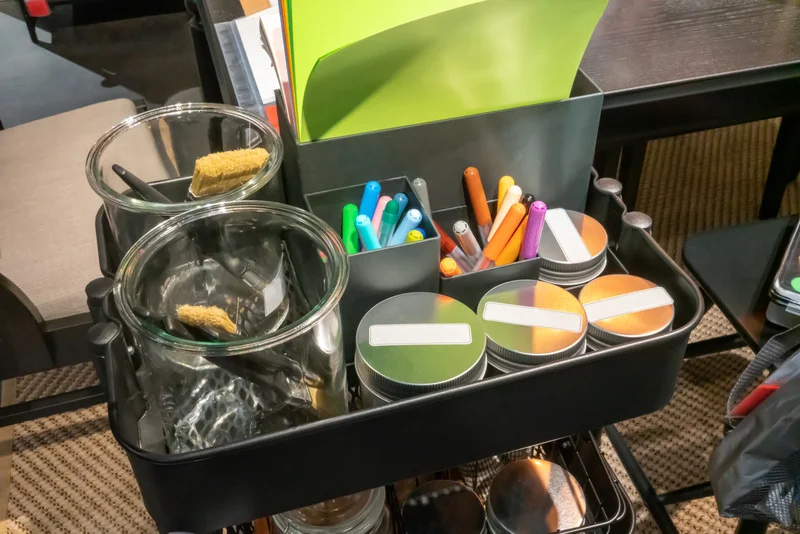
Label Your Items
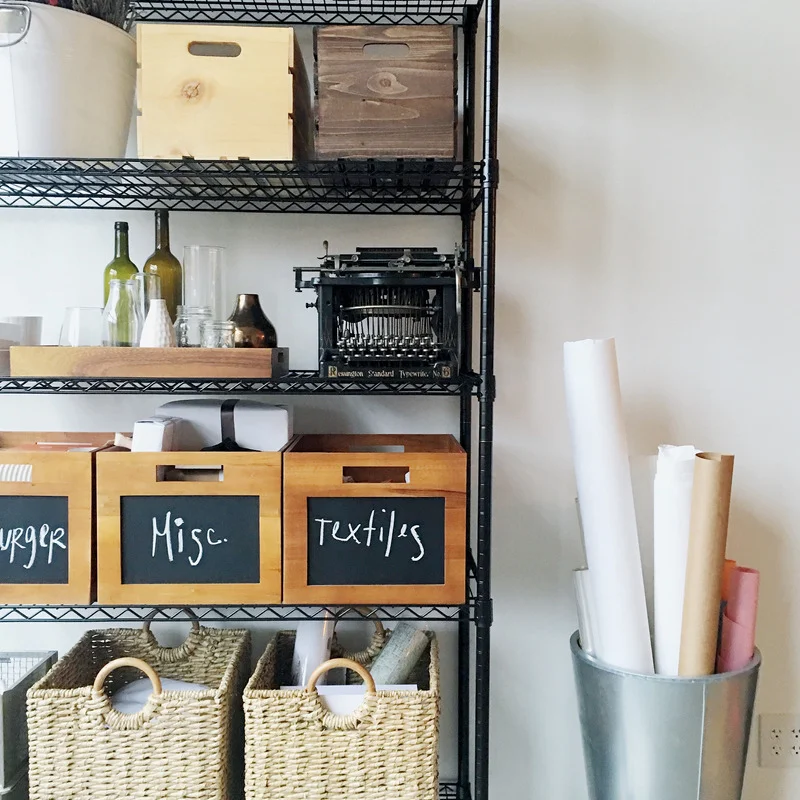
Labeling is essential for preserving the order we have worked so hard to build up. In general, I label everything, including storage containers, individual shelves, and cubicles. This way, even after a long time, I know where I can locate what I’m looking for.
When labeling, avoid using the same labels for everything. I use identical color labels for things in the same category. This allows me to rapidly divide different types of items while seeking for anything.
In addition, I like to write item names in full rather than shortened them. Because after a time, I could not know what the abbreviation stands for. Do not question it; I did this stupid action before.
Regularly Tidy Up
Okay, all of the organization is done. But don’t let your guard down, because we all have a tend to let our closets get disorganized if we allow ourselves to be a bit lazy. Make it a habit of organizing on a regular basis.
I normally set out a certain day or time each month to undertake a fast closet clean up. Put loose objects back in their proper places and refill any low supplies. I also ask the family to chip in at these times. Give it a try; it’s a terrific family day activity!
Maintaining your craft storage might help prevent the dreaded mess.

Conclusion
See, organizing your craft closet is simple! So don’t waste time searching for that misplaced roll of ribbon until you need it. Reorganize your craft closet! That way, the next time inspiration hits, you’ll be able to turn it into reality. Let’s get started.
FAQs
You can also use drawer dividers, craft caddies, or tilt-out bins for more storage space. Use bins, clear boxes, or household objects like jars or containers for each category of items. Keeping similar items together and having frequently used materials within reach is key to maintaining an organized craft closet.
You can also use drawer dividers, craft caddies, or tilt-out bins for more storage space. Use bins, clear boxes, or household objects like jars or containers for each category of items. Keeping similar items together and having frequently used materials within reach is key to maintaining an organized craft closet.
Follow these six steps, and you’ll have a clean, organized closet—that you can maintain moving forward—in no time at all.
1: Pull Everything Out of the Closet.
2: Create Toss, Keep, and Donate Piles.
3: Sort Everything by Category.
4: Count and Measure Everything.
5: Set Your Closet Up.
Use Dividers on Shelves. The Container Store Clear Shelf Divider.
Use “Floating” Space.
Double Up Your Hanging Space.
Utilize the Back of Your Door.
Stack Your Shoes.
Add a Small Dresser.
Add Clothing Categorizers.
Maximize Hanging Storage.
Sources:
- The Ultimate Craft Closet Organization
- How to Organize a Craft Closet
- How to organize a craft closet without spending a dime
- How to Organize a Craft Closet
- Turning My Closet Into a CRAFT Room
- Kids Craft Organization: Art Room Craft Closet Storage
- Organizing and Decluttering Ideas
- Storage Cabinets & Drawers
- Craft Room Reveal and Organization Tips From My First Home
- Craft Room Closet Organization
- How to Create the Craft Closet Of Your Dreams
- Take Your Craft Room Storage to the Next Level
- 15 Craft Room Organization Ideas That’ll Leave You Feeling Inspired
- How to Organize a Craft Closet
- How to Organize Your Craft Closet
- Organizing a Craft Closet: Everything You Need to Know
- {Craft} Closet Makeover
- CRAFT ROOM
For more organizing tips, hacks, and advice:
- Maximize Every Inch: Smart Storage for Loft Apartments
- The 7 Worst Types of Clutter and How to Get Rid of Them
- Storing Sweater Ideas and Organization Tips
- 10 Best Small Garage Storage Ideas 2023 – How to Organize a Garage Step by Step
- How To Do Marie Kondo folding Towels? KONMARI Folding Towels Step by Step Tutorial 2023
- How To Fold Shirts Fast? Konmari Folding Shirts Method
- KonMari Folding Method – Marie Kondo Folding Guide For Clothes
- Best Free Interior Design Software and Tools Online
- Maximize Your Mudroom: Clever Built-In Ideas
- Laundry Room Shelving Ideas: Maximizing Space and Style