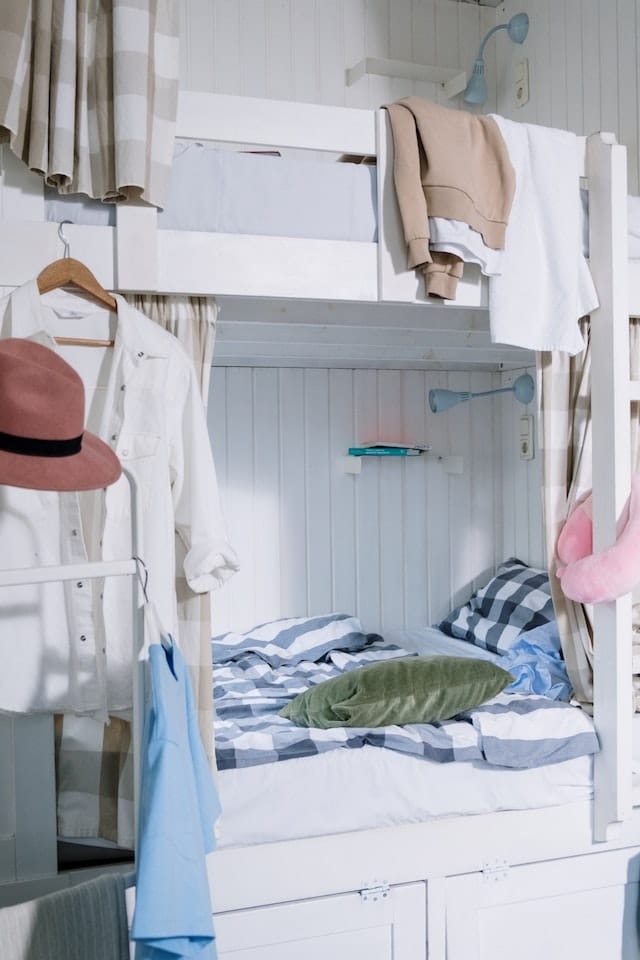
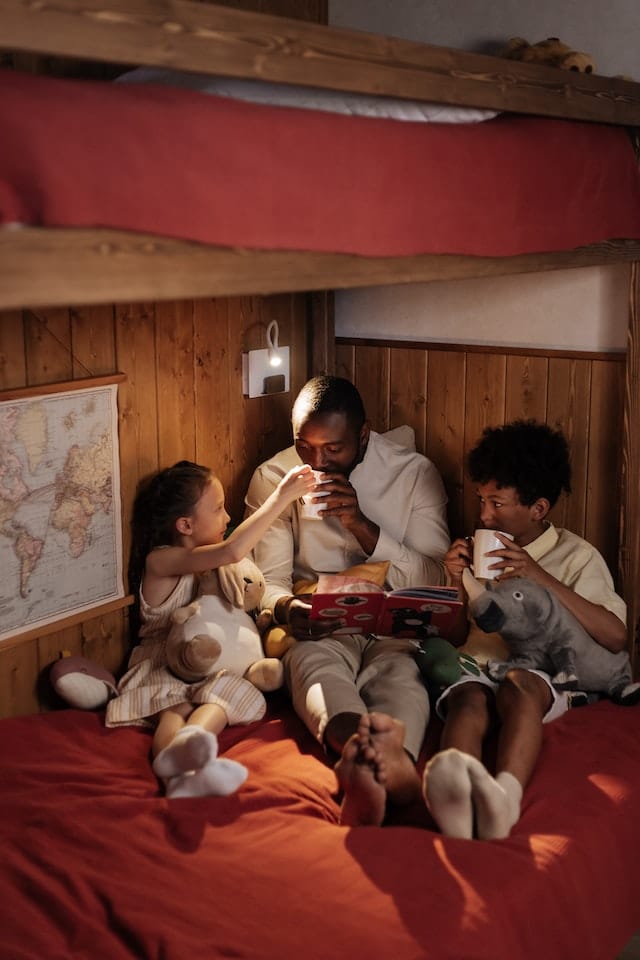
If you’re looking to maximize space in a kids’ bedroom or guest room, built-in bunk beds offer an ingenious solution. Combining storage and sleeping spaces into one unified design, these integrated bunks help you make the most of compact floorplans. Let’s explore the pros, cons and best practices when installing bunk beds directly into the wall.

Understanding the Appeal
Integrated bunk beds seamlessly blend in with wall units and cabinetry. This continuous look minimizes the visual footprint of the beds, creating a tidier aesthetic compared to freestanding bunks. Built-in bunks also provide ample storage space underneath the bottom mattress, allowing you to stash clothes, toys, books, and more out of sight. Other benefits include:
- Space Savings – Eliminates need for floor space taken up by legs/frame
- Safety – Attached securely to studs for stability
- Convenience – Kids can simply roll out of bed into play space
- Versatility – Can customize with cupboards, shelving, ladders, etc.
With such perks, it’s easy to see the draw of built-in-wall bunk beds in kids’ rooms, secondary bedrooms, and multifunctional spaces.
Key Design Factors
When planning your built-in bunk bed project, keep these key considerations in mind:
- Weight – Solid attachment to wall studs is crucial
- Mattress Size – Opt for twin or slimmer for tight fits
- Height – Consider ceiling height and optimal space between mattresses
- Access – Incorporate ladders or stairs into the design
- Ventilation – Allow for airflow to avoid stuffiness
- Lighting – Add integrated lighting for safety/visibility
- Theme – Tailor cabinetry finish and hardware to decor
Careful attention to these factors will ensure your integrated bunk beds are safe, functional and aesthetically pleasing.
Step-By-Step Installation Guide
Ready to tackle a built-in bunk bed project? Follow this step-by-step guide for successful execution:
- Map Out Design – Sketch plans for layout, measurements, framing, cabinetry.
- Gather Supplies – Bunk bed hardware kit, boards, drywall, molding, tools.
- Prep the Wall – Remove existing drywall, locate studs for securing frames.
- Frame Out Bases – Build and mount frames for top and bottom beds.
- Construct Surrounding Cabinetry – Cut and install boards for face frames, sides, doors.
- Add Supports – Insert braces and cross-members for stability.
- Attach Mattresses – Fix bunk bed slats into frames. Test weight limit and integrity.
- Finish Touches – Molding, hardware pulls, lighting. Conceal edges with trim.
- Safety Checks – Ensure no sharp edges or gaps. Affix guardrails on top bunk.
With good carpentry skills and attention to detail, you can create customize built-in bunks perfectly suited to your space.
Conclusion
For anyone with limited square footage, built-in bunk beds provide valuable multifunctionality for bedrooms and kids’ rooms. By combining storage and sleeping spaces, integrated bunk designs maximize every inch. With safety checks and finish details, your built-in bunk project can blend seamlessly into any living space. Get ready to level up your small-space savvy with beds that become one with the wall!

FAQs about Bunk Beds Built Into the Wall
If the bed is made with less than sturdy materials, adhering it to the wall is a smart safety measure. If the bed is made with sturdy materials, it might not be as necessary. The best material for bunk beds is solid wood, like we use at Bunk Bed King.
Instead of a freestanding bed frame, a built-in bunk bed is attached to the walls of its space to look like a cohesive part of the room. Built-in bunk beds tend to be larger and sturdier—because they’re often attached to the walls, floor, and ceiling—than freestanding bunks and have a custom, high-end look.
There are a few advantages to building a bunk bed instead of buying one. These free bunk bed plans will save you money and create a much higher quality bed than you could buy at the store. They’ll also be a keepsake for your children and even grandchildren.
If you have a bunk bed or a cabin bed, you’ve got a ready-made den structure just waiting to be transformed into a cosy hideout. You simply need to tuck in some sheets and blankets around the top bunk to completely surround the bottom bunk or under-bed space and hey presto! Den-ready in seconds.