Are you wondering what temperature is simmer? Don’t worry, you’re not alone. Many home cooks, whether beginners or seasoned chefs, often find themselves uncertain about this fundamental cooking technique. We’ll look into the realm of simmering, including its temperature range, benefits, and practical uses. By the end, you’ll be simmering with confidence and ready to take your recipes to new heights.
What Temperature Is Simmering?
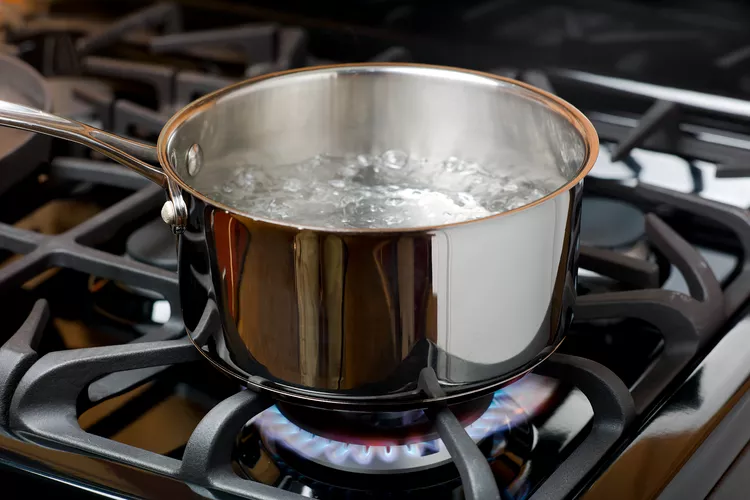
Simmering is a moderate cooking process that involves heating a liquid to just below the boiling point. Simmering takes place between 180 and 200 degrees Fahrenheit (82 to 93 degrees Celsius). This moderate bubbling is hot enough to extract flavors, decrease liquids, and gently cook food without excessive boiling.
When little bubbles begin to form on the surface, your pot has reached the simmering point. It’s critical to keep the heat low enough to preserve this delicate simmering rather than letting the pot come to a quick boil.
What Temperature Is Simmer on Electric Stove?
On an electric stove, obtaining the proper simmer temperature takes some skill. Depending on the settings on your stove, you should adjust the heat to medium-low or low. To get perfect simmer conditions on an electric range, set the temperature to 180-200 degrees Fahrenheit (82-93 degrees Celsius).
Controlling the heat level, on the other hand, can be more difficult with an electric stove than with a gas burner. Keep a tight eye on your pot and gradually increase or decrease the temperature until you find that bubbling sweet spot. Going little above or below 180 F is acceptable as long as you avoid a full rolling boil.
What Temperature Is Simmer 1-10?
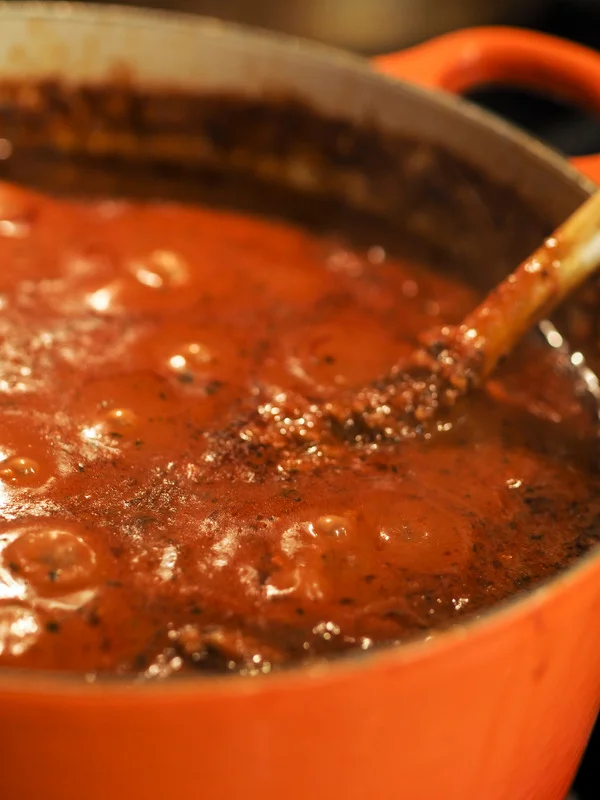
On gas stoves with a 1-10 scale, simmering ranges from 2-4. A 2 provides a mild warmth, while a 4 approaches boiling point but remains calm. Remember that cooktop heating might vary, so check the pot rather than depending exclusively on dial or knob numbers. As long as those lethargic tiny bubbles are present, you’ve found the right simmering rhythm!
Benefits of Simmering
Simmering has a variety of advantages beyond flavor enhancement. Some of the main benefits include:
- Enhanced Flavor Development: Slow cooking allows components to slowly release their flavors, resulting in richer, more nuanced taste profiles.
- Tenderized Proteins: Simmering breaks down tough proteins like meats and beans, making them more tender and delicious.
- Thicker Sauces and Soups: As liquids diminish and evaporate while boiling, sauces and soups naturally thicken, resulting in a rich texture and mouthfeel.
- Aromatic Infusion: While simmering, herbs, spices, and other aromatics infuse into the cooking liquid, adding depth and richness to your food.
- Suitable for braising, stewing, and poaching temperature-sensitive meals.
- Prevents scorching: Unlike high boiling temperatures, simmering does not burn delicate substances.
Poaching VS. Simmering
While poaching and simmering both use gentle heat, these moist-cooking procedures differ in several important ways:
- The liquid amount – Poaching cooks the food entirely submerged in liquid, whereas simmering simply utilizes enough liquid to gently bubble.
- Temperature – Poaching rarely exceeds 160-180 degrees Fahrenheit, whereas simmering can reach 180-200 degrees Fahrenheit.
- A cooking vessel – Poaching often use a tall, narrow pan, whereas simmering requires a larger pot with more surface area.
Boiling VS. Simmering
Don’t confuse simmering with boiling! Here is the difference:
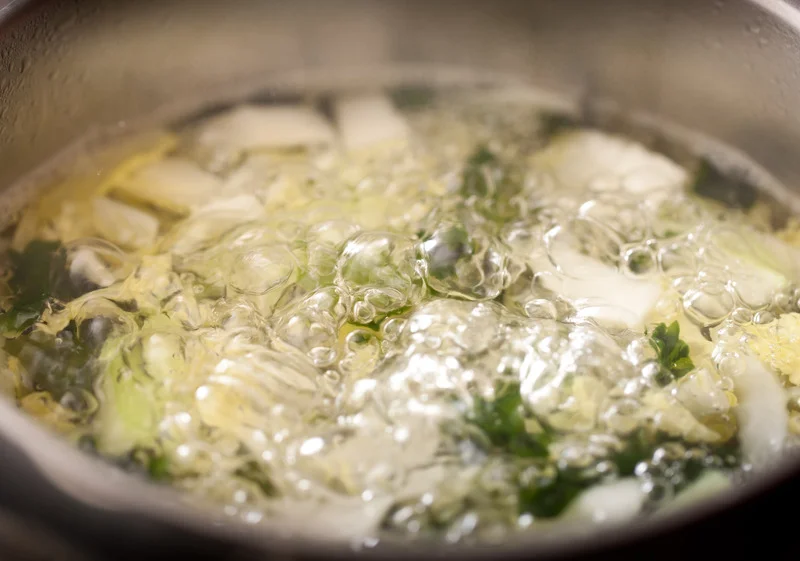
- Temperature – At sea level, boiling temperatures reach 212 F (100 C), whereas simmering temperatures range from 180 to 200 F (82 to 93 C).
- Bubble Behavior – Boiling produces large, swiftly exploding bubbles, whereas simmering produces little, slow-moving bubbles.
- Speed – Vigorous bubbling when boiling indicates higher water action than a simmer.
- Fluid movement – The churning, visible currents of boiling produce more water flow than simmering.
Paying attention to temperature, bubble style, motion, and strength will help you distinguish between a boil and a simmer.
Foods to Simmer
A wide range of dishes adapt themselves well to simmering. Some popular options include:
- Tough Cuts of Meat: Long, slow simmering of beef chuck, lamb shoulder, and hog shoulder yields fork-tender stews and braises.
- Root vegetables such as potatoes, carrots, and turnips absorb flavors well when cooked in soups and stews, giving depth and heartiness to your dishes.
- Legumes: When boiled, beans, lentils, and chickpeas become creamy and tender, making them ideal for substantial soups and vegetarian chili.
- Pasta and Grains: Cooking pasta and grains in rich broths or sauces infuses them with savory goodness, taking simple recipes to the next level.
When to Simmer
When should you use your go-to simmering method? Here are smart times to turn down the heat and simmer:
- Extracting concentrated flavors – Cook homemade stocks, broths, and reduction sauces.
- Thickening sauces – Allow pan sauces to gradually decrease over a simmer.
- Gently poach meats, fruits, or eggs – To gently cook delicate items, use liquid that is slightly below the boiling point.
- Tenderize difficult meats – Cook meats on a low heat for hours. Soak beans – Prior to finishing, hydrate and partially boil dried beans.
- Avoid burning and boiling over – When a rolling boil runs the risk of burning or overflowing.
- Anytime a recipe specifies “simmer”! – Follow the recipe instructions for the best cooking process.
Trust your instincts: if a food requires delicate care or moisture, simmering is probably your best option.
How to Simmer
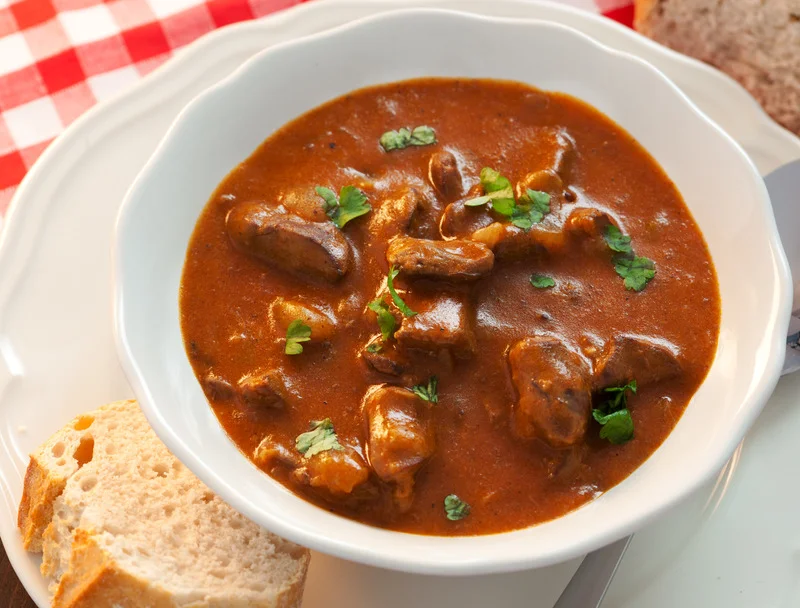
Ready to try simmering? Take these simple steps:
- Fill a pot with your cooking liquid (broth, water, sauce, etc.).
- Heat the pot over medium-high heat until bubbles form on the surface (180 F).
- Once little bubbles develop, drop the heat to low to maintain a gently simmer.
- Adjust the heat as needed to maintain a bare simmer rather than a strong boil.
- Simmer food per recipe instructions until fully cooked through and fork tender.
- Taste and season the simmering liquid throughout the cooking process.
- Stay near the simmering meal, stirring occasionally and keeping an eye on the temperature. Patience and attention will provide delectable results!
Tips of Simmering
Stay Below the Boiling Point
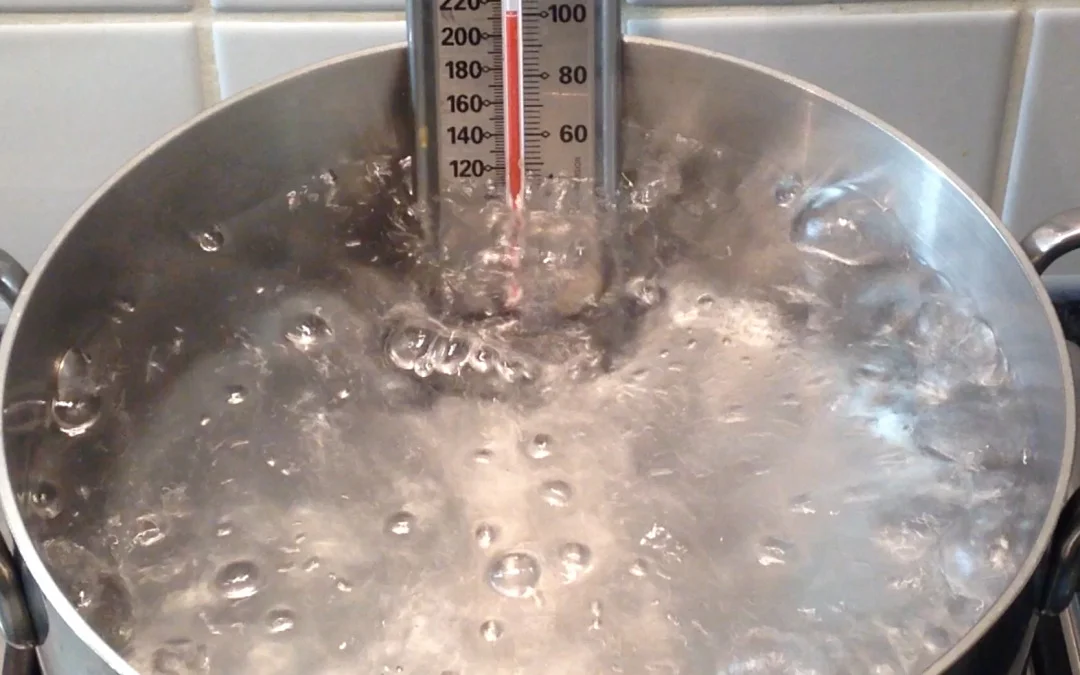
The boiling point of water is 212°F (100°C) at sea level. For a true simmer, you want to stay safely below that mark.
Simmering occurs between 180-200°F approximately.
Observe the Bubble Behavior
Visually, bubbles provide clues to simmer status. A proper simmer produces:
- Light bubbling activity
- Bubbles rising slowly from bottom
- Surface movement, but no rolling bubbles
Watch the pot; big, violent bubbles mean it’s boiling!
Ideal Simmer Temperature
- 190°F–200°F: – Best for delicate foods like egg or dairy-based sauces.
- 200°F–205°F: Traditional simmer for stocks, soups, and braises.
- 185°F–195°F—for foods that scorch easily, like chocolate or tomatoes.
Adjusting Heat
- Lower heat just until bubbles surface infrequently.
- Use a thermometer to check liquid’s temp.
- Stir periodically, monitoring consistency.
- Adjust temperature if too hot or cool.
Maintaining the liquid within an optimal simmering temperature range draws out the best flavors.
Conclusion
Mastering the art of simmering is essential for making delicious and savory foods that will please both family and friends. Understanding the appropriate temperature, techniques, and benefits of simmering can take your cooking to the next level, opening up a world of gourmet possibilities. So don’t be frightened to simmer with confidence and try out this flexible cooking method. Your taste buds will thank you!
FAQs
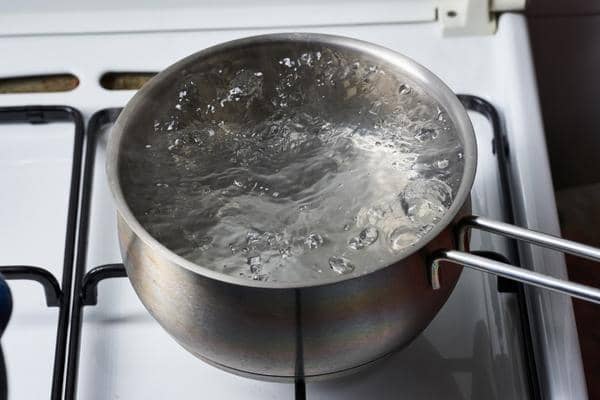
A simmer happens over medium-low heat, and you’ll see a few gentle bubbles in the liquid. It’s used to braise or to cook soup or chili. It’s also great way to parcook slow-cooking ingredients in the same pan with quicker-cooking ingredients.
Simmering occurs between about 185 to 205ºF (85 to 96ºC). Most stews and braises are cooked at this relatively low temperature.
Let’s use plain ol’ water as an example. When something needs to reach a boil, the liquid has to reach 100 degrees celsius. If you don’t have a thermometer, a boil can be characterized by giant bubbles that are continually breaking the water’s surface, whereas a simmer is reached at 82 to 88 degrees celsius.
Cooking at a simmer means to keep the dish slightly below boiling, at about 180-190 degrees Fahrenheit. It is a slow method of cooking that lets flavors develop deliciously and blend perfectly. Another way to think about the difference between simmer and boil is the size of the bubbles and the motion of the water.
It depends a bit on your stove, but typically 2 or 3 is a simmer. It should be lightly bubbling, but not boiling; a muted applause, not an ovation.
That’s about where you need to be for a simmer. On my home oven, which has a digital display but a traditional type of thermostat, the setting is 105 or 110C (220–230F). It’s important when using oven temperatures this low to make sure the food is boiling hot when you start.
Sources:
- What Temperature is Simmer?
- Boil vs. Simmer: What’s the Difference?
- What Temperature is Simmer on Electric Stove?
- How to Simmer: 4 Ways to Maintain a Simmer
- WHAT IS A SIMMER?
- Simmering
- Is Simmer Lower Than Low? Let’s Find Out
- Poach, Simmer, Boil, Gentle Boil, Gentle Simmer, Rolling Boil. What does this all mean?
- Simmering 101
- Simmer vs Boil: What’s the Difference?
- Cookbook:Simmering
- WHAT IS SIMMERING? TIPS AND TECHNIQUES
- How Do You Properly Boil and Simmer? Here’s Everything You Should Know
- What Temperature Is Simmer On An Electric Stove? Unlock The Perfect Simmer
For more cooking tips, hacks, and advice:
- Best Ways to Reheat a Chipotle Bowl
- Drying Deliciousness: How to Preserve Your Bay Leaves
- Maximizing Leftover Chipotle Fridge Life
- Achieving Brisket Greatness in the Oven
- Juicing Frozen Fruit: Does It Work?
- Baking Toast to Perfection in the Oven
- Letting Brisket Rest for Best Results
- Achieving Warm, Gooey Cinnamon Roll Bliss on Reheat
- Achieving the Perfect Potato Cut
- Can You Boil Oven-Ready Lasagna Noodles?
- Turning Pancake Mix into Easy DIY Waffles